- Nicole
- Sarah
- Zoe
Monday, February 23, 2015
Friday, February 20, 2015
Blog 2: Lights, Camera, Exposure
This is my camera.
 It is the Canon EOS Rebel XSi. Nothing too fancy, but much better than an iPhone 4, I have to say. This camera is a couple years old (and is my dad's). These next couple of weeks will let me know if I am actually interested in photography. If it turns out I become really invested in it and I really enjoy it, then I might consider investing in a camera of my own. If photography becomes a hobby of mine, I think it would be a good purchase to make.
I'll be honest... I'm really not an "instruction manual" kind of person - I usually like to figure things out on my own. But considering I usually take pictures by turning the setting to the little green box (automatic), I thought I should do some reading to figure out what really controls the camera. It seemed silly to learn about the mechanics of a camera, since I am not learning out to build one, so I jumped right into the things that will actually affect my photos and how to control them.
Exposure
One of the most important things you can control in your camera is the amount of light that you let in. This is called exposure. If too much light is let in, the photo will be overexposed, and if not enough light is let in, the photo will be underexposed.
 There are 3 main things the influence exposure: shutter speed, aperture, and ISO.
(Disclaimer: I didn't take these photos)
Shutter Speed (movement)
Shutter speed is how long the lens remains open before it snaps the picture. 1/4 shutter speed is longer, so more light is let in. 1/400 is very quick, and less light can enter. Shutter speed can also affect moving things. 1/400 shutter speed will allow something to freeze in time, because it is very quick. 1/4 will make the moving object a blur. Other settings, like aperture and ISO can be played around with, so that you can take a quick snap that still lets enough light in.


I read a photography book called Read This if You Want to Take Great Photographs by Henry Carroll (awesome title, right?). This book solidified my newly found knowledge on exposure, but taught me more about what the settings on that little dial on the camera mean.
To summarize: the automatic and all of the "scene" settings (portrait, landscape, night, action) are bad. The camera adjusts all of the exposure setting to what it thinks is right. The Av (aperture priority), Tv/S (shutter speed priority) and P (ISO priority) are the best settings. In each, you can adjust whatever the priority is, and the camera will figure out the rest. This way, you can focus on one aspect of the picture (movement, focus, or brightness).
I apologize that none of the photos in this post are mine. I really wanted to learn everything I could about my camera before I started shooting. I think it's important for me to understand what I am doing. The camera has a lot of cool features, and I want to utilize them all.
Here is what my next few weeks will consist of:
Great News! I have created an instagram where I will be displaying my work. Follow me at @efaphotography (I follow back) I will be posting soon!!
I'll be honest... I'm really not an "instruction manual" kind of person - I usually like to figure things out on my own. But considering I usually take pictures by turning the setting to the little green box (automatic), I thought I should do some reading to figure out what really controls the camera. It seemed silly to learn about the mechanics of a camera, since I am not learning out to build one, so I jumped right into the things that will actually affect my photos and how to control them.
Exposure
One of the most important things you can control in your camera is the amount of light that you let in. This is called exposure. If too much light is let in, the photo will be overexposed, and if not enough light is let in, the photo will be underexposed.
(Disclaimer: I didn't take these photos)
Shutter Speed (movement)
Shutter speed is how long the lens remains open before it snaps the picture. 1/4 shutter speed is longer, so more light is let in. 1/400 is very quick, and less light can enter. Shutter speed can also affect moving things. 1/400 shutter speed will allow something to freeze in time, because it is very quick. 1/4 will make the moving object a blur. Other settings, like aperture and ISO can be played around with, so that you can take a quick snap that still lets enough light in.
Aperture (focus)
Aperture controls how open or closed the lens is. It is like the pupil of your eye - in a really bright setting, it will close up, and in a dark room, it will open to let in as much light as possible. Aperture controls the amount of blur in your photo. Opening the aperture gives a shallow depth of field (blur the background), and closing the aperture gives a wide depth of field (entire picture in focus).
Blurred Focused
ISO (sensitivity)
ISO is the camera's sensitivity to light. Its almost like putting sunglasses on your camera. On a very bright day, you want to put sunglasses on to you camera to decrease the sensitivity to the sun (low ISO). When you're indoors where there is less light, you take off the sunglasses so your camera is more sensitive (high ISO). My camera has an ISO range of 100-1600, but a lot of cameras can go well over 1600.
Less sensitive More sensitive
I honestly thought researching this stuff would be boring, but it was actually really fun to read about it. I never knew what was really going on behind the lens.
I read a photography book called Read This if You Want to Take Great Photographs by Henry Carroll (awesome title, right?). This book solidified my newly found knowledge on exposure, but taught me more about what the settings on that little dial on the camera mean.
To summarize: the automatic and all of the "scene" settings (portrait, landscape, night, action) are bad. The camera adjusts all of the exposure setting to what it thinks is right. The Av (aperture priority), Tv/S (shutter speed priority) and P (ISO priority) are the best settings. In each, you can adjust whatever the priority is, and the camera will figure out the rest. This way, you can focus on one aspect of the picture (movement, focus, or brightness).
I apologize that none of the photos in this post are mine. I really wanted to learn everything I could about my camera before I started shooting. I think it's important for me to understand what I am doing. The camera has a lot of cool features, and I want to utilize them all.
Here is what my next few weeks will consist of:
- Nature/Landscape (outdoors, bright/hard light)
- Still life (indoors, low/soft light)
- Portraits
- Action shots (shutter speed)
Great News! I have created an instagram where I will be displaying my work. Follow me at @efaphotography (I follow back) I will be posting soon!!
Wednesday, February 18, 2015
Friday, February 13, 2015
Blog 1: A New Lens
Getting Started
First off, let me just say that choosing a Genius Project topic was very difficult for me. I wanted something that was simple yet complex, something that I would enjoy doing for six weeks and not get sick of, and finally, I wanted something that I would continue to pursue after the project is completed. I think that photography fits all of the criteria. It is a simple concept, yet I can take it in so many different directions that cater to my interests. I feel like my life is consumed by school and sports, so I'm really hoping that this project will allow me to take a step back and a deep breath, and look at things in a different perspective.
Motivation

My grandmother, who has
been practicing art her entire life, took my picture, and turned it into a
painting as a birthday present.


I'll catch up with you later once I do some more research and take a few pics!
Side note: @worthathousandwords is already taken on instagram, so comment if you have any other suggestions!
First off, let me just say that choosing a Genius Project topic was very difficult for me. I wanted something that was simple yet complex, something that I would enjoy doing for six weeks and not get sick of, and finally, I wanted something that I would continue to pursue after the project is completed. I think that photography fits all of the criteria. It is a simple concept, yet I can take it in so many different directions that cater to my interests. I feel like my life is consumed by school and sports, so I'm really hoping that this project will allow me to take a step back and a deep breath, and look at things in a different perspective.
Motivation
I
took this pic during Spring break one year with my iPhone 4, but I wasn't really sure what I
was doing – I saw a flower so I took a picture of it.
See the resemblance? I thought it was such a cool and personalized gift. My photography had inspired such a cool piece of art.
This really opened my eyes to the greater impact photography has on
us. It inspires many things such as memories, social interactions, and even
art. We are able to share experiences with each other in a meaningful way. I have
always been inspired by the finer moments in life, and I want to be able to
bring back these moments with my photos. I don’t consider myself the artsy
type, so I want to push myself to go outside my comfort zone and try something
completely new. So, instead of just taking a simple picture with my phone, I
want to be able to take it to the next level – and understand what I am doing
and why I am doing it.
To do this, I have set up a schedule for myself. This first week, I will do some research, and maybe play around with the setting on my camera. Mr. Perlman gave me some amazing sources to help me get started. The Phoblographer and Digital Photography School are great sources with amazing tips and tricks.
Next week, I will begin taking nature/landscape pictures. I think this is a good starting point for me, because these are the types of pictures I am drawn to. I have never really looked into photography techniques, but if you were to look through the pictures on my phone, you will come across a lot of pictures of the places that I go. If I ever go somewhere cool, I like to take a picture. But, I just whip out my phone and take the shot, I don't really pay attention to lighting, lines, or any other things photographers look at. Here are some examples of pictures from my phone from my trip to Italy.
They aren't terrible (considering they were taken on an iPhone 4), but I don't think they are that good. I really hope that I will see improvements by the end of 6 weeks.
Goals
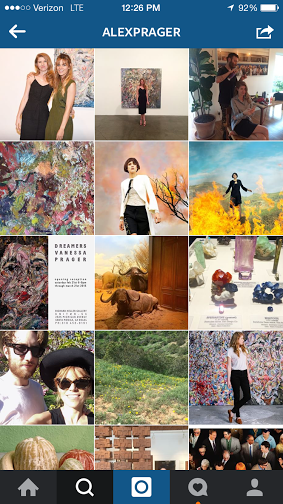
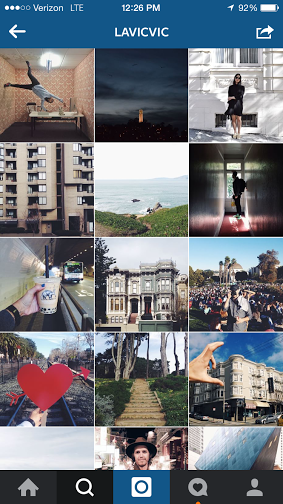
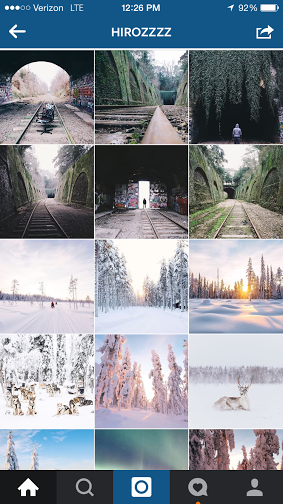
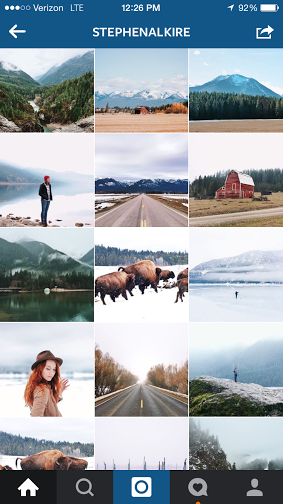
I will be creating an instagram to showcase my (hopefully) amazing artwork. I have already started following other successful photography instagrams for inspiration. Here are some of them:
I'll catch up with you later once I do some more research and take a few pics!
Side note: @worthathousandwords is already taken on instagram, so comment if you have any other suggestions!
Subscribe to:
Comments (Atom)